Workflow
-
1
Create the loan
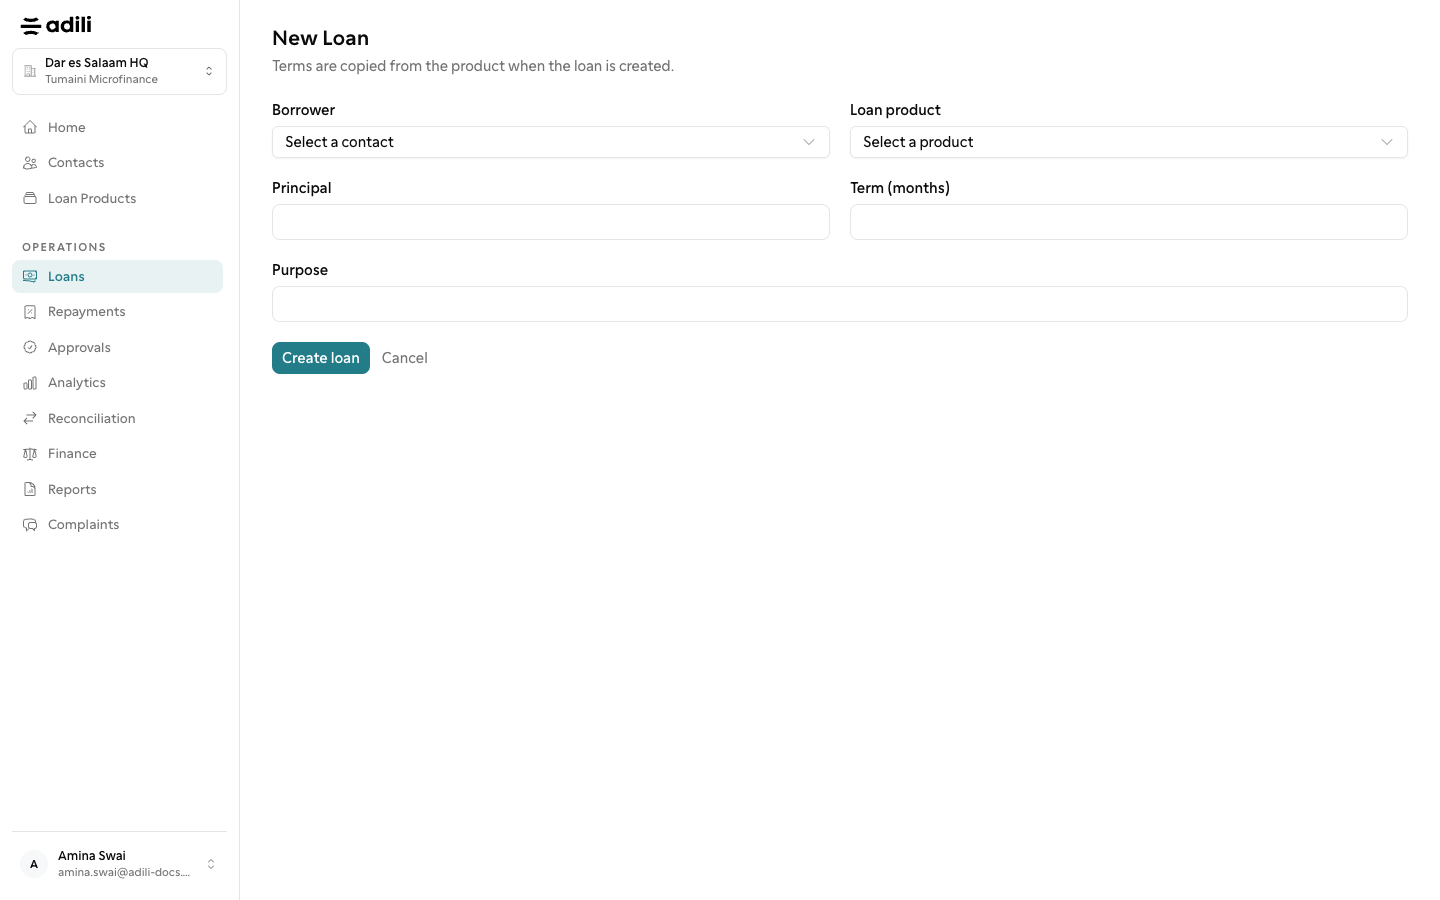
Open Loans and choose New Loan. Pick the Borrower (Member in a SACCOS) and the Loan product, then enter the Principal, Term (months), any Optional add-ons and the Purpose. Check the Schedule preview and the cost of credit, then choose Create loan. The loan is saved as Draft.
-
2
Complete the loan file
On the loan page, use the Security tab to Add collateral and Add guarantor, and the Documents tab to upload what the product requires. If the product needs a field visit, choose Send for assessment (see Field Assessment).
-
3
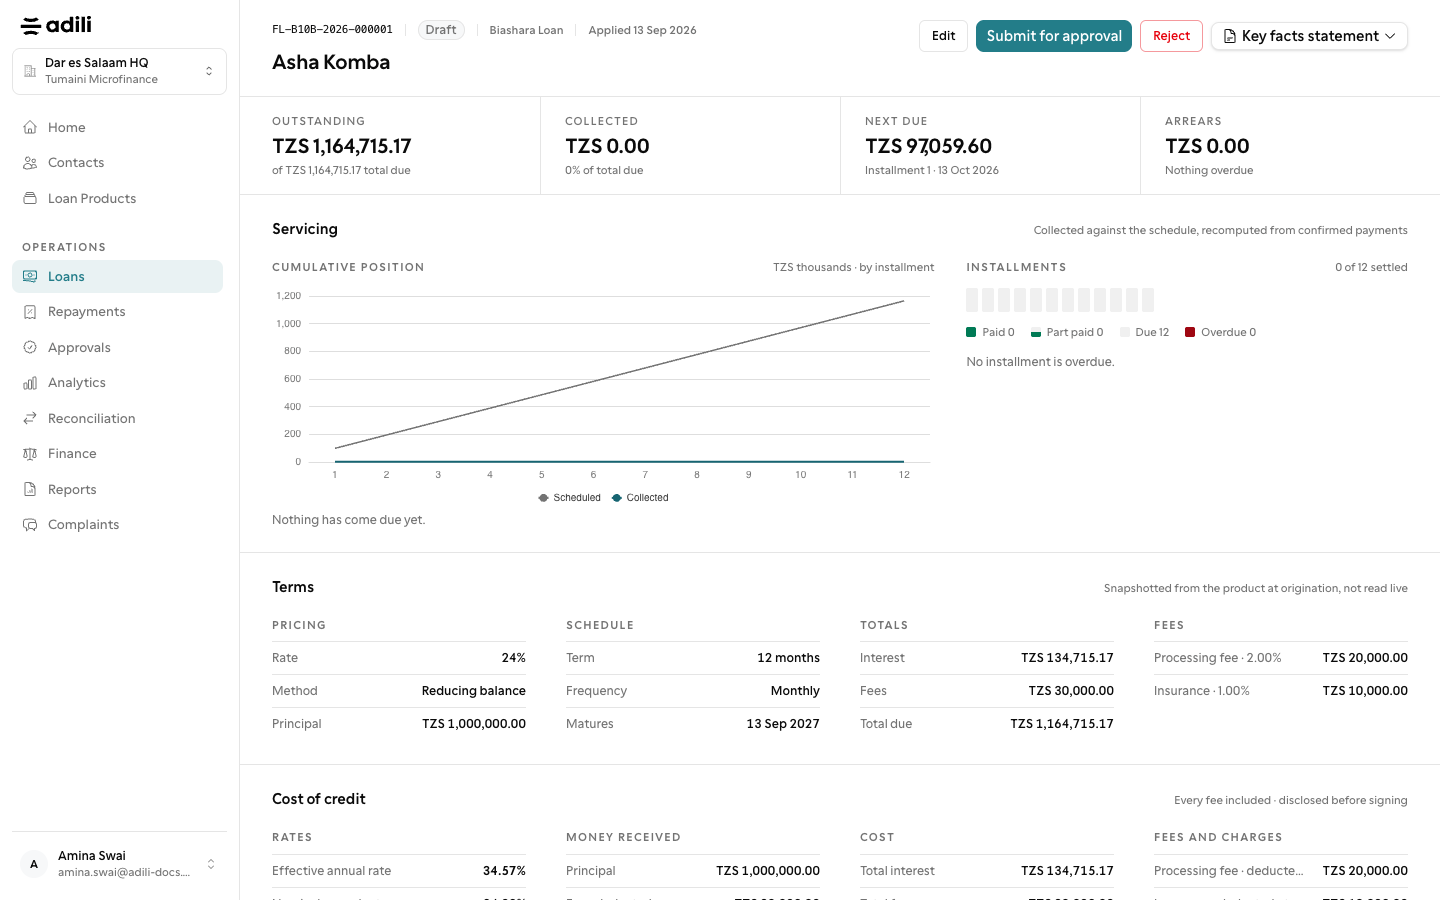
Submit for approval
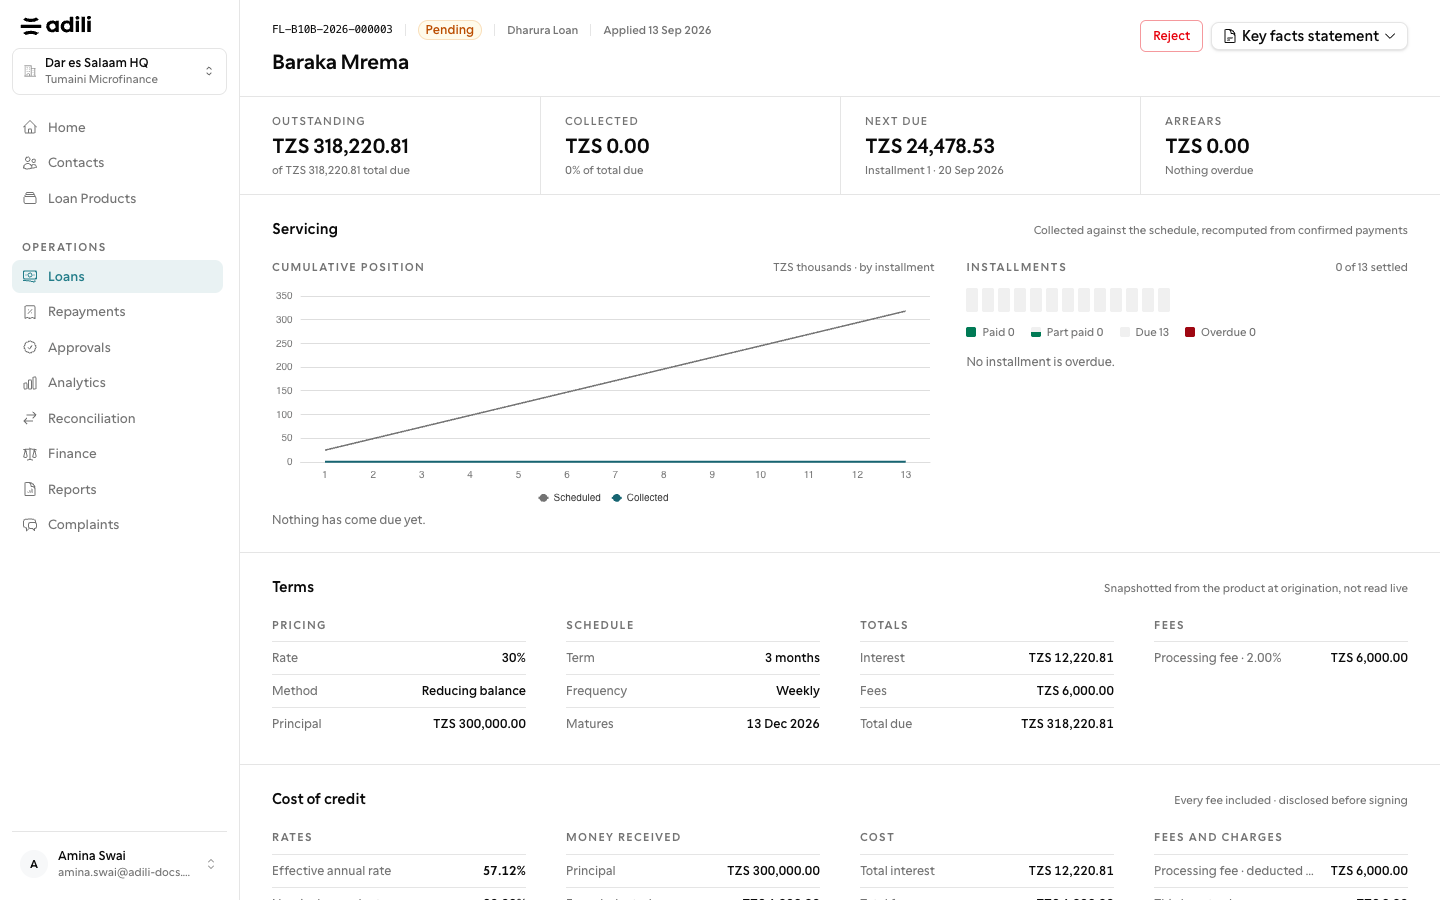
When the page shows Ready to submit, choose Submit for approval. The loan shows Pending until a checker decides; under some rules it is approved at once. To stop an application, choose Reject, give a Reason and choose Submit rejection.
-
4
Disburse
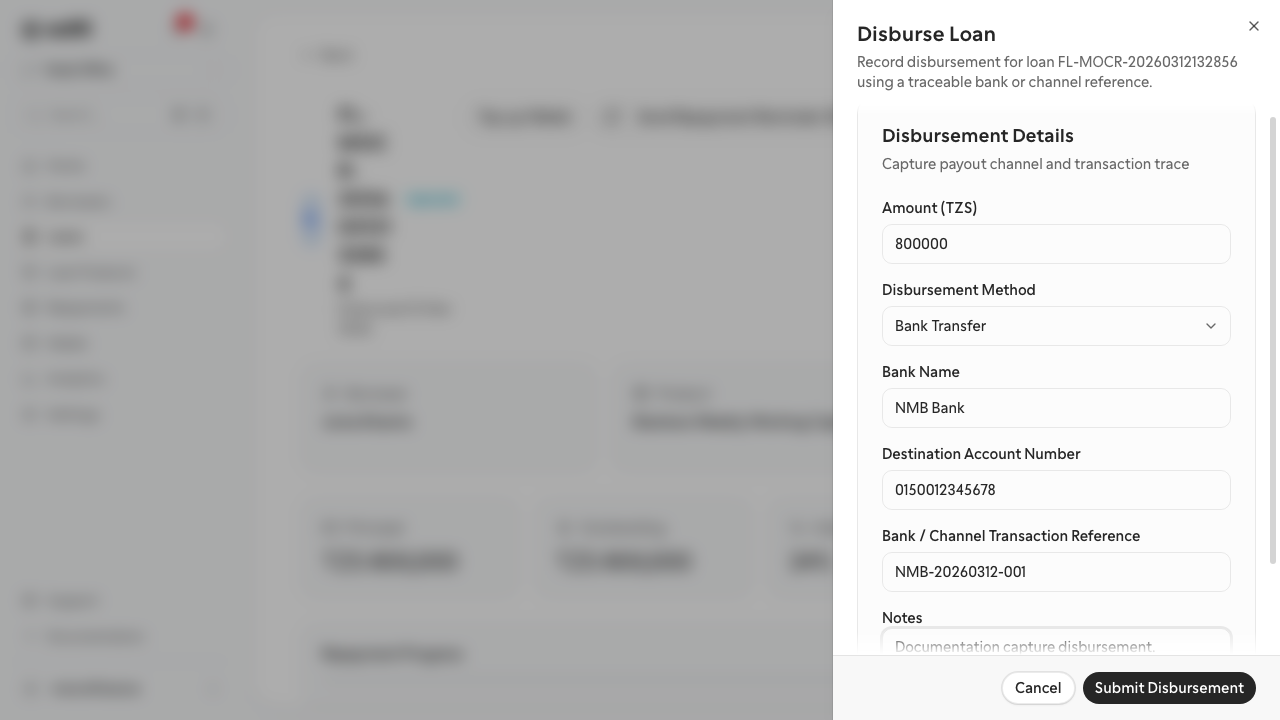
On an Approved loan choose Disburse. In Disburse loan pick the Source account, confirm the Amount, choose the Method (Cash, Bank Transfer, Mobile Money or Cheque), fill in the recipient details and the Receipt number, Transaction reference or Cheque number, attach the Proof of payment if you have it, and choose Record payout.
-
5
After the payout
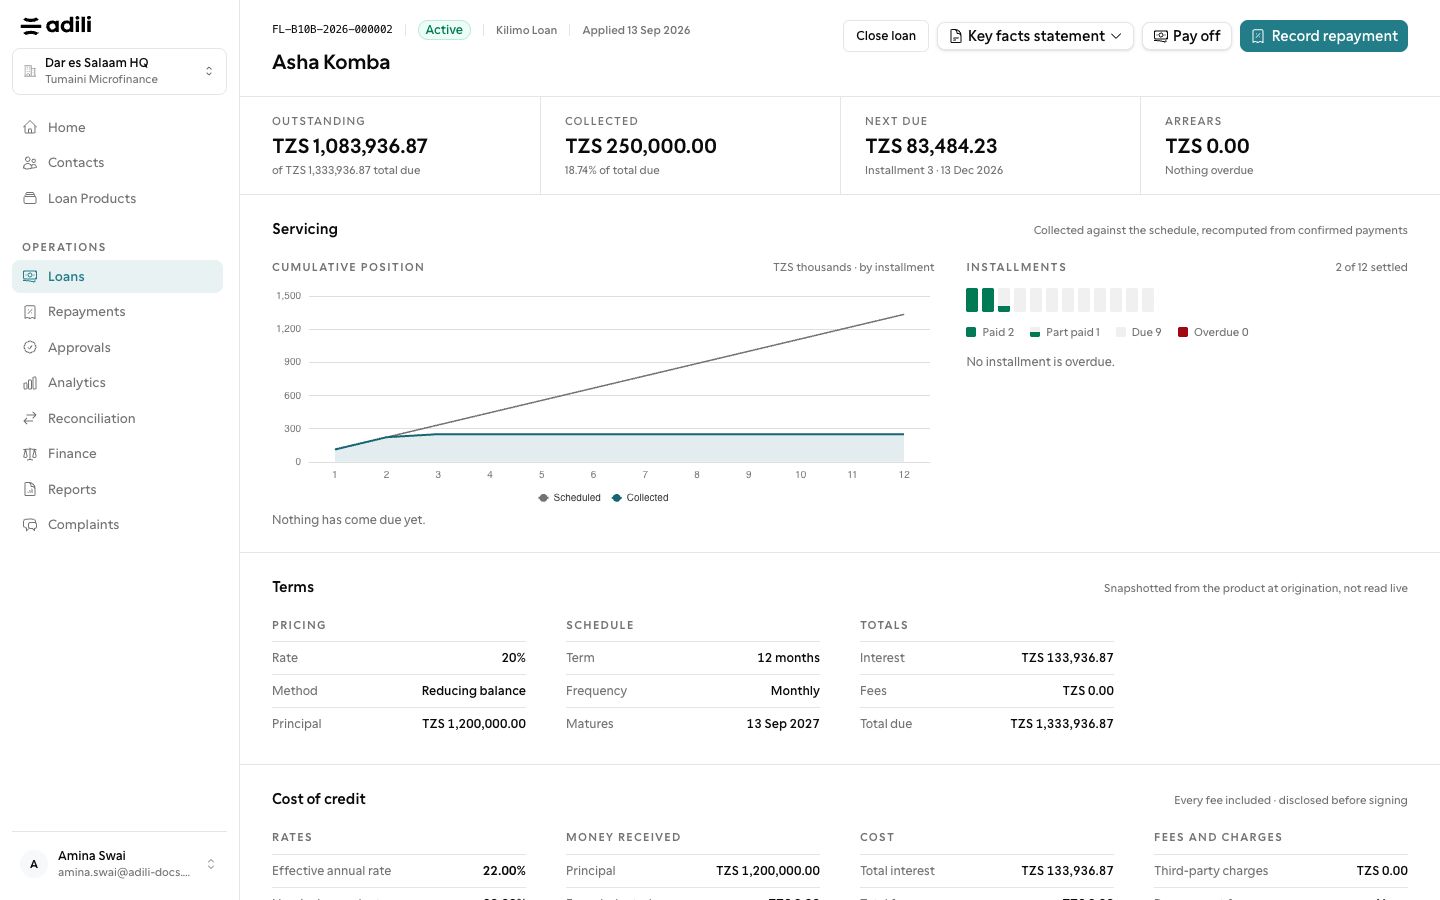
The loan shows Active, or Disbursement submitted for approval when payouts need a checker. Use Attach slip to add proof later. A manager can Reverse a wrong payout with a Reason and Reverse payout.